Hey yall! Alot of people have been asking me about color grading, so I decided to start this blog and share some of what I have learned as a colorist!
I just graded a film called “The Convict”, and made a color grading breakdown!
You can watch the break down here!
This was all shot on the Canon 7D
Directed by Tiffany Castro – she is on vimeo
Cinematography by Andrew Hatling – Hatlingfilm.com
At the end of this post, I included the footage used for download so you can try it yourself!
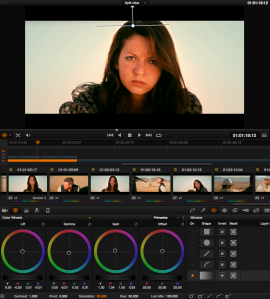
The director, Tiffany Castro, was really after a nice gritty, dirty western feel. In the story, the woman Mary, hunts down and captures the man – the convict – who is responsible for killing her family. This shot is his POV of him on the ground, with her looking directly into his eyes. Mary’s brother is digging the convicts grave. She wants the audience to feel the heat of the day and the dirt of the desert. This film also takes place in the 1800’s, so she also wanted the feel of an old photograph to be present.
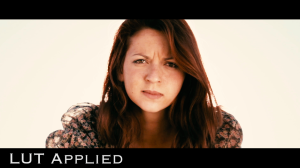
Step 1 – LUT Applied
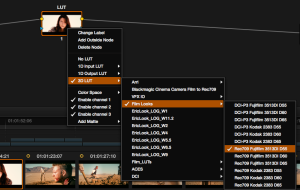
First I applied one of the Fujifilm LUTs found within Resolve. I LOVE THESE LUTS! Juan Melara has a great post on print film emulation LUTs here, check it out! It is very in depth and invaluable.
I used the Rec709 Fujifilm 3513DI D55 LUT
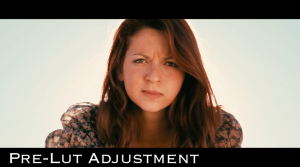
Step 2 – Pre-LUT Adjustment
The LUT, when applied, is way too contrasty and was under saturated was wrong. So I created a node before the LUT node to adjust it – balancing it out. (You always want to adjust a LUT with a node previous – this is because you actually lose information after you use a LUT – for the sake of a more film like response when pushing around the colors.)
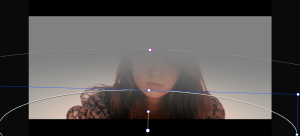
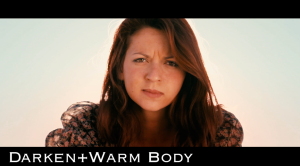
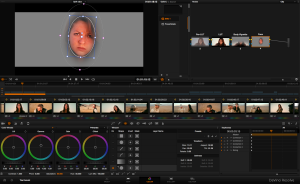
Step 3 – Darken+Warm Body
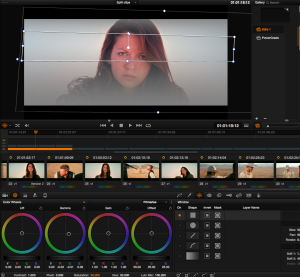
Here I used a power window and masked the bottom portion of the frame, darkening the midtones and highlights slightly, and adding a touch of orange in the gamma, so we arrived at a more brown, dirt like color. I was not concerned with having the mask be perfect. I was perfectly ok with it spilling off onto the sky, because I felt it added to that old, worn, stained photograph feel.
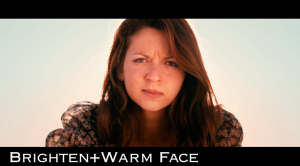
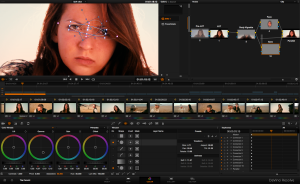
Step 4 – Brighten and warm face
I noticed that her face was seemed a little plain and flat and didnt stand out from the rest of the image. In reality, she was pouring out her hatred for him, and saying she was about to kill him! Her face should command our attention! Here I brought up the exposure with the highlight wheel, as well as pushing a decent amount of red into the midtones. I pushed the red slightly more that what I needed because I knew I was going to reduce contrast in the scene later on, which reduces saturation.
Step 5 – Adjust Eye Color
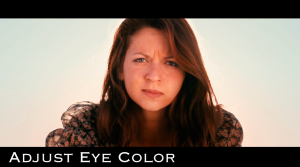
This was a subtle. when ever adjusting the eyes, I think less is more – especially if you are wanting to make the eyes realistic. Actually, when colorgrading, less is almost alway more.
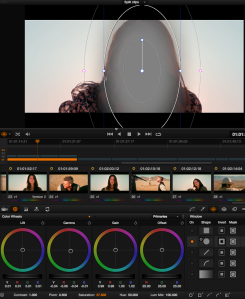
I made my selection of the eyes using the HSL qualifier, then zeroed in on the eyes using two power windows, one to get the eyes, and the other to correct for the little that was spilling onto the space inbetween her eyes. If this was RED footage, I wouldn’t have an issue with a less than ideal key, but with 8bit compressed h.264, transcoded to prores, I dont have nearly as much color information to pull a great key – but it worked!
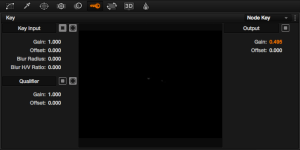
I pushed a good deal of blue into the eyes, and then using the output key, adjusted the gain and dialed the eyes to taste.
here is a great tutorial from Colorist Denver Riddle talking about the strategy of dialing a look to taste.
Step 6 – Adjust Sky Color
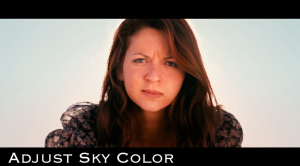
I felt the sky should have a little more blue in it, so I added it! I also brought down the saturation of the sky, so that the focus was also more directly on Mary’s face. Our eyes are drawn to the most saturated thing on the screen. I also liked its effect on her shirt.
Step 7 – Create Look
Next, I created the look, pushing green into the midtones, orange into the highlights and a little green yellow into the shadows. this added that dirty, greenish brownish look that really made it look old and faded and dirty and western.
Step 8 – Correct Skin tones
The skin was now not where I wanted it, so I corrected it by pushing some blue into the midtones.
I found that I liked how it looked when I applied this correction and faded it over the face, the correction was not uniform, and added subtle blemishes, which added to the dirty face feel. In addition, normally, I would simply apply it to the face, but instead, I stretched it from either edge of the frame, because I like the subtle irregularity it added to the frame and the sky.
Step 9 – Lower Contrast
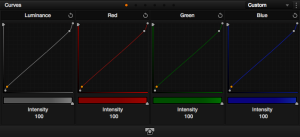
Here I lowered the contrast of the image using curves. Old film has a low contrast look to it that I wanted to slightly emulate to get that old photograph feel.
Step 10 – Desaturate Highlights and Shadows
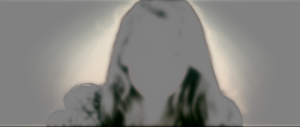
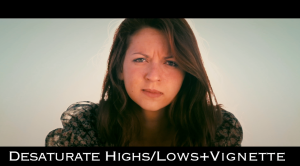
I wanted “clean” shadows and highlights, meaning I wanted the brightest parts of the image to be white, and the darkest to be black, and not off color by the look. So I pulled a key on the shadows and highlights (Basically pulling a key on the midtones and inverting it.) and then desaturated them.
I find that I always get a better looking result with clean shadows and highlights.
In the next node, I added a simple vignette.
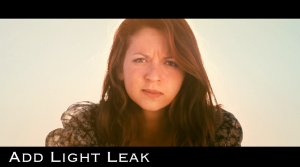
Step 11 – Light leak
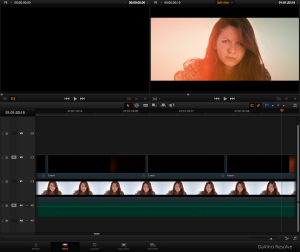
I wanted to really feel the heat, so I thought compositing in some light leaks I got from CreativeDojo would work, and it honestly did wonders and sold the effect. It added a dynamic texture to the image that I loved! I was thrilled with the result!
and there it is folks! A look that is to die for!
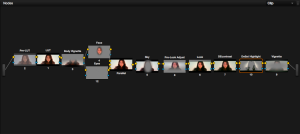
Here my the final node tree.
If you have any questions or comments – let me know! And check out my website – ChazCreative.com for my latest projects!
Here is a link with the clip I used that you can download from dropbox
and here is a link to some free stock footage light leaks!
God bless!
